DIY Wedding Decor: Beautiful and Budget-Friendly Ideas
DIY wedding decor can make a celebration feel personal while helping you keep a close eye on the budget. The key is choosing projects that suit your skills, venue, and schedule, then using them in a few well-planned spaces rather than trying to make everything yourself.
From ceremony decor and reception tables to wedding signage and lighting, small details can have a big effect when they share a consistent look. Start with a clear plan, and decide early what to make, buy, borrow, or delegate.
Start with a simple decor plan
A simple decor plan starts with your wedding style, color palette, and the areas guests will notice most. Choose a few high-impact projects before buying materials, so your DIY wedding decor feels coordinated instead of scattered.
First, picture the atmosphere you want: relaxed garden gathering, modern city celebration, or romantic candlelit reception. Pick two or three main colors and one or two recurring materials, such as linen, wood, glass, or greenery. These choices give separate projects a shared visual thread.
Next, make a venue walk-through list. Note the ceremony entrance, aisle, arch or focal point, reception tables, welcome area, and any bare walls that might need attention. Ask the venue about restrictions before planning candles, hanging installations, confetti, or attachments to walls and furniture.
- Prioritize guest-facing areas: Focus on the ceremony focal point, entrance, and tables where guests spend the most time.
- Set a project limit: Choose a handful of repeatable projects rather than a different craft for every corner.
- Track the real workload: Record material costs, craft time, drying time, transport needs, and who will assemble each item.
A useful rule is to DIY items that are personal, portable, and easy to repeat. For large installations or highly technical lighting, compare the full DIY workload with renting or hiring help.
Create welcoming ceremony decor
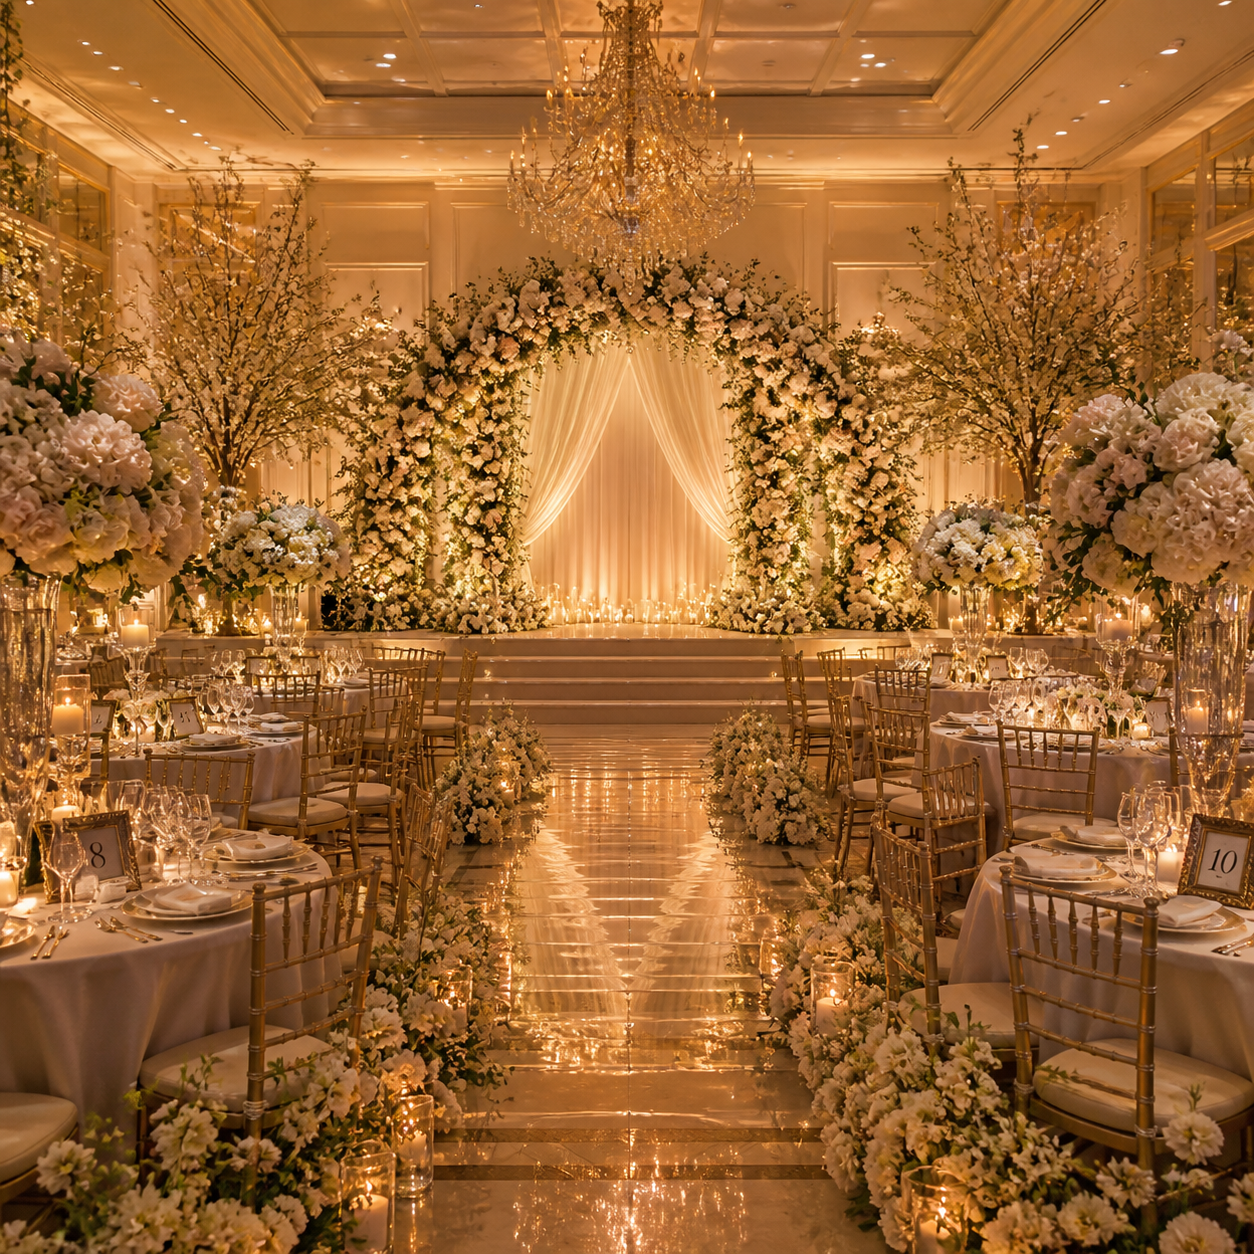
Simple ceremony decor can make the aisle, arch, and guest seating feel intentional without filling the venue with decorations. Repeat a few elements, such as flowers and greenery or fabric and lanterns, to create a calm, cohesive setting.
For the aisle, try small arrangements attached securely to the first few rows, clusters of lanterns at the aisle entrance, or potted plants that can move to the reception afterward. Marking only the front rows often gives the ceremony a finished look while using fewer materials. Check that decor stays out of walkways and does not create a trip hazard.
An arch or ceremony backdrop provides a natural focal point. Consider a simple fabric drape, a greenery garland, or a pair of floral arrangements on a freestanding frame. Keep the design proportional to the space, and confirm how the structure will be secured. A design that looks light in a photo may still catch wind outdoors or require a stable base.
Guest seating can also feel welcoming with practical details: a printed order of ceremony, a small reserved-seat sign, or a basket of programs near the entrance. If you use fresh flowers, ask a florist which varieties can handle the wedding date, weather, and time without water. Reusable greenery, dried flowers, or potted plants can be easier to transport and repurpose.
Make reception tables feel special
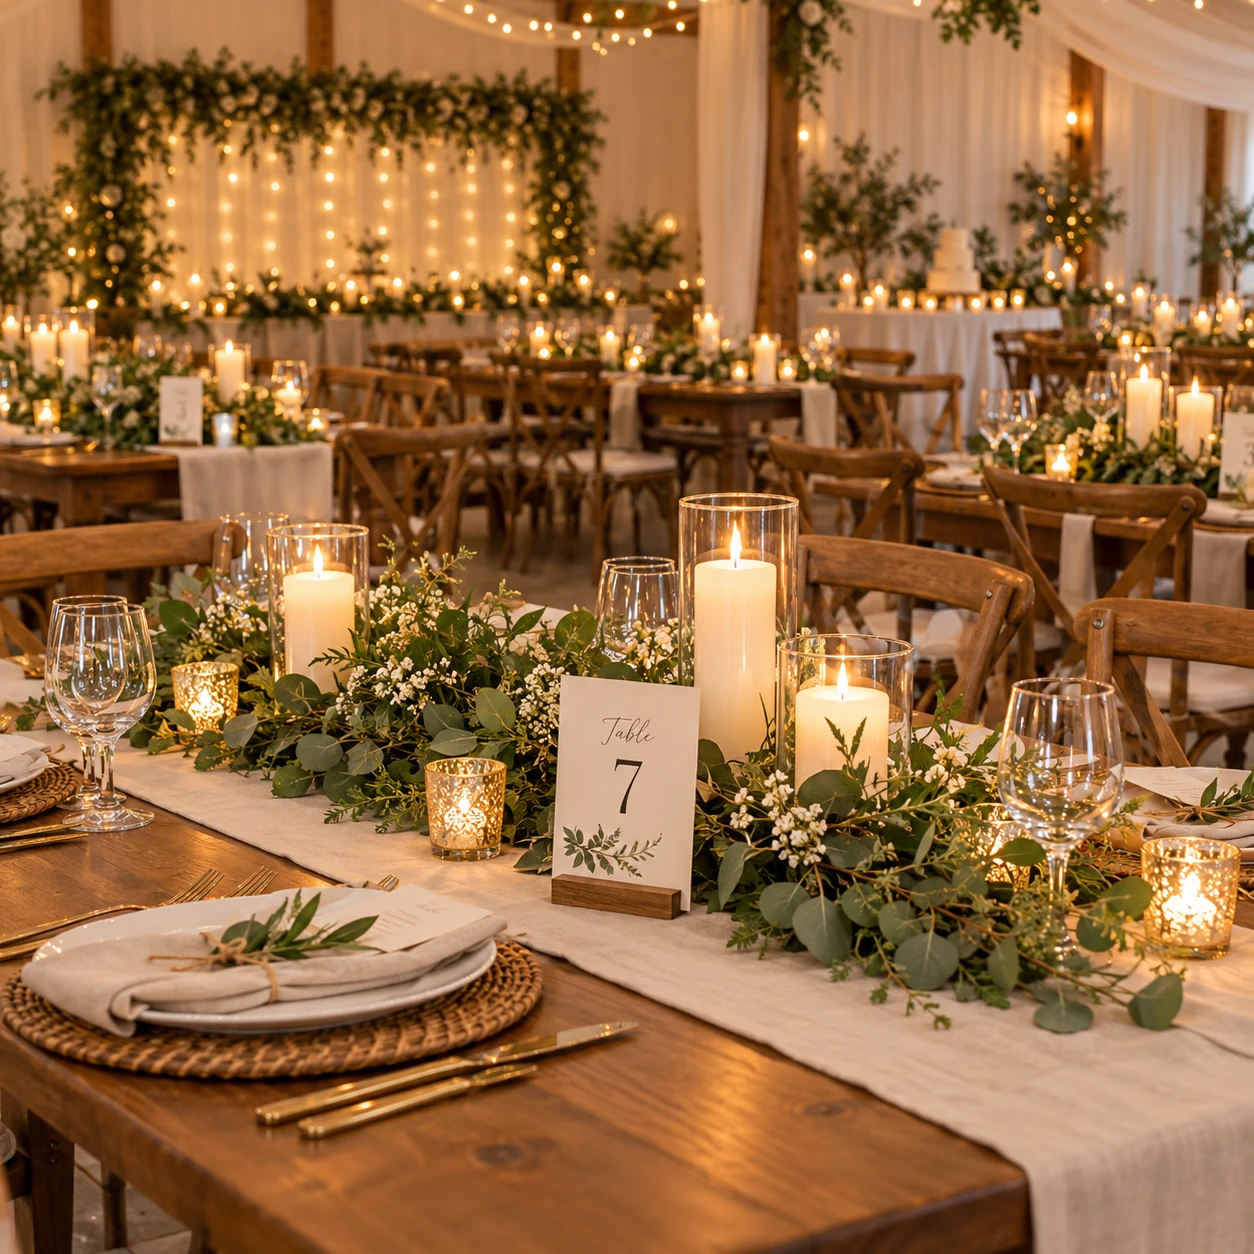
Reception tables feel special when centerpieces, table numbers, and place settings share a few repeated colors and textures. Keep centerpieces low enough for conversation, or choose narrow designs that leave guests a clear view across the table.
For an easy centerpiece, group a few bud vases with seasonal flowers, add a greenery runner, or combine glass bottles with battery-operated tea lights. A cluster of small pieces is often easier to arrange than one large floral design, though it still needs a plan for safe transport and placement. If using real candles, check venue rules and use stable holders with enough space between flames and fabric.
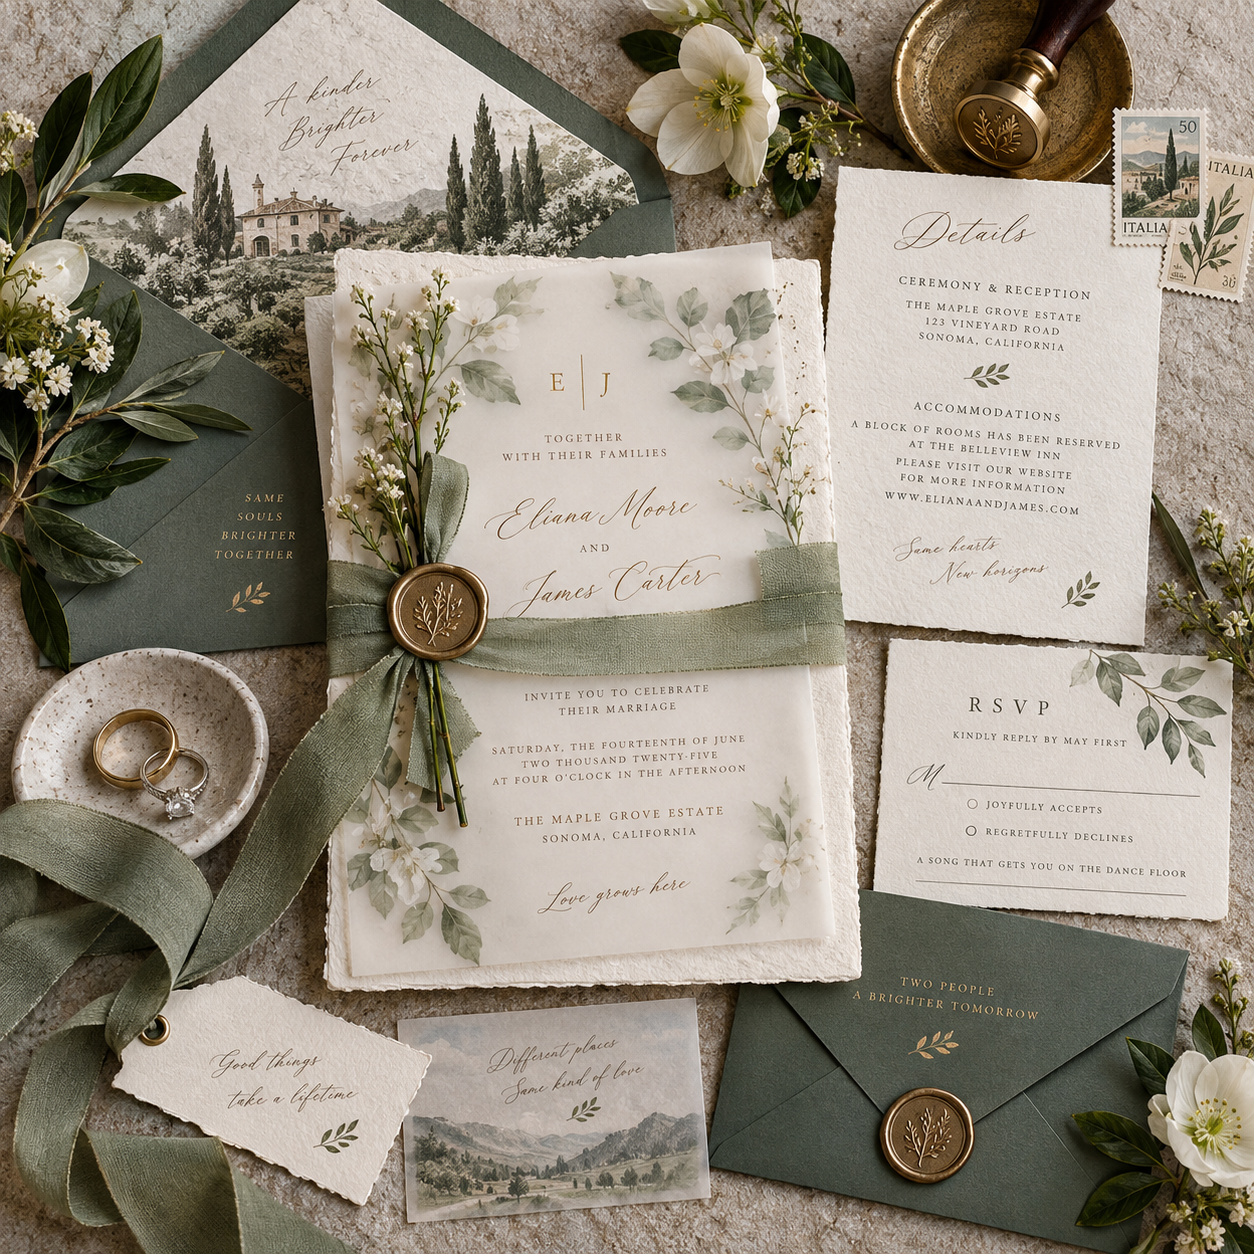
Make table numbers from cardstock, framed prints, painted wood, or small labels tucked into a vase. Repeat the same typeface and finish across all tables. For place settings, a sprig of rosemary or greenery, a handwritten name card, or a simple ribbon can add a personal touch without crowding the plate.
- Prepare one sample table before the event and photograph it from guest eye level.
- Count each item by table, then pack extras for breakage or last-minute seating changes.
- Choose pieces that can serve a second purpose, such as potted herbs that guests can take home.
DIY table decor works best when it is easy to reproduce. A modest centerpiece made consistently across the room often looks more polished than several unrelated designs.
Add personal touches with signage and details
DIY wedding signage helps guests navigate the day and adds personality when its wording, materials, and typography match the rest of the decor. Make the most useful signs first: welcome, seating, and any directions guests need to find the ceremony or reception.
A welcome sign can be written or printed on a reusable mirror, framed board, or painted panel. Use lettering large enough to read from a few steps away, and keep the message brief. For a seating display, organize names alphabetically or by table number, then test whether guests can find their names quickly in a crowded space.
Small accents can carry the same design language into other areas. Consider a card box label, a favor tag, a bar menu, or a short note explaining a family tradition. Keep these details useful or meaningful; decorative extras that guests never notice can take time away from more important tasks.
Before finalizing signs, proofread names, table assignments, and directions with someone who has not been involved in planning. Print or paint a test version to check contrast and legibility. A beautiful sign is less effective if guests cannot read it in dim light.
Save on materials without sacrificing style
You can make DIY wedding decor more budget-friendly by reusing, borrowing, repurposing, and selectively buying materials. Compare the full cost and effort of each option, because supplies, tools, storage, and labor can make a homemade project less economical than it first appears.
Start with what you already own or can borrow: vases, frames, baskets, fabric, string lights, or lanterns. Ask family and friends whether they have items that fit your palette. When borrowing, label each piece and agree on a return date so borrowed decor does not become a post-wedding guessing game.
Look for reusable materials that work in more than one setting. Ceremony flowers can move to the welcome table, potted greenery can decorate both the aisle and reception, and framed signage can be used at home afterward. Choose a limited set of finishes so borrowed and newly purchased pieces look like part of the same collection.
For each project, compare three routes: make it, rent it, or buy it ready-made. DIY may be a good choice for small signs or simple table numbers, while renting can make sense for arches, specialty linens, and large quantities of matching candle holders. Buying may be practical for items you expect to reuse, but avoid purchasing supplies before confirming quantities and venue requirements.
Keep DIY manageable on the wedding day
DIY wedding decor stays manageable when you test projects early and assign setup and teardown to named people. Build a plan that covers packing, transport, venue access, installation time, and what happens to every item after the celebration.
Finish a sample of each project well before the wedding, ideally early enough to adjust the design or switch to a simpler option. A sample reveals how long assembly takes, whether materials travel well, and what tools are needed. Then make a production checklist with item counts, packing instructions, and setup locations.
Use labeled bins for separate areas, such as ceremony, reception tables, and signage. Add a photo or short diagram showing where each item goes. Confirm the venue’s setup window, loading access, storage space, and rules for candles, adhesives, and hanging decor. If fresh flowers are involved, coordinate delivery and placement with the florist or planner.
Do not leave setup and teardown to the couple or assume guests will handle them. Ask trusted helpers, a wedding coordinator, or venue staff to take responsibility, and make sure they have the schedule and contact details. A wedding planning service can help coordinate DIY pieces with venue rules, vendor arrival times, and the overall design, so handmade details fit the day rather than complicate it.
For a quick decision, use this test: DIY it if the project is repeatable, low-risk, and finished ahead of time; rent or delegate it if it is large, fragile, time-sensitive, or difficult to install.
DIY wedding decor FAQs
These answers can help you choose realistic projects, set a timeline, and decide who will handle decor on the wedding day. The right plan depends on your venue, guest count, available help, and comfort with crafting.
Which wedding decor projects are easiest to DIY?
Simple table numbers, place cards, favor tags, small bud-vase arrangements, and welcome signs are often approachable projects. Choose work that uses basic materials and can be completed in batches, then test one example before making the full set.
How far in advance should I make DIY wedding decor?
Start planning as soon as your venue and color palette are settled, and finish most nonperishable projects several weeks before the wedding. Leave fresh flowers and other perishable items for a schedule agreed with your florist, and keep a final buffer for packing and corrections.
What wedding decor is better to rent or buy?
Rent larger items you need in quantity, such as arches, specialty linens, or matching candle holders, especially if storage and transport would be difficult. Buy durable pieces you plan to reuse, and DIY smaller items when the time and material costs make sense.
How can I make DIY decor look cohesive?
Limit the color palette, repeat a few materials, and use the same typography and finishes on signs and table details. Photograph a sample table and ceremony setup together to check whether the designs feel connected.
Who should set up and take down the decor?
Assign named helpers, your wedding coordinator, or venue staff, and confirm each person’s responsibilities in advance. Give them labeled bins, setup photos, timing, and clear instructions for packing, returning rentals, and handling borrowed items.